Splunk is company that offers logging services. They went public last year, have a market cap of over $3 billion, and are headquartered in San Francisco’s SoMa neighborhood.
I’ve tried Loggly and Papertrail. In my opinion, Splunk is the best of the bunch due to its:
- Real-time or very-near-real-time data discovery.
- Wildcard search.
- Timespan dragging.
Loggly and Papertrail offer Heroku add-ons but Splunk doesn’t. So, setup is a bit more complex with Splunk. Here’s how to do it.
Go to Splunk Storm. Create an account.
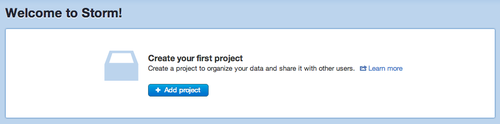
Once signed in, create a project:
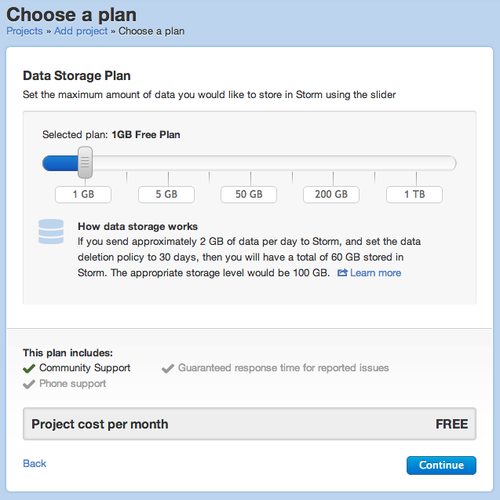
You can start with a free plan:
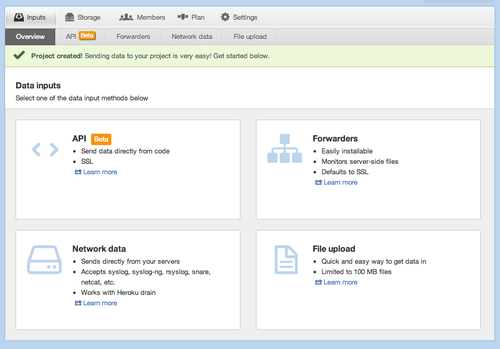
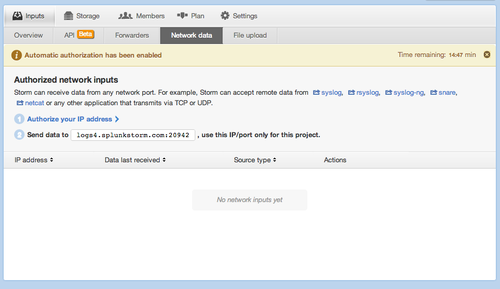
Click “Network data”:
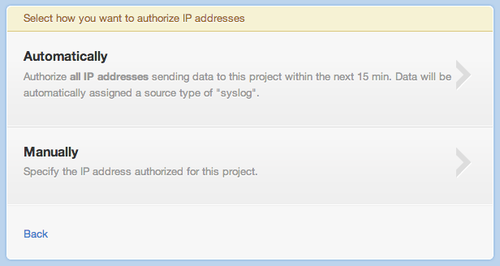
Click “Authorize your IP address”:

Click “Automatically”:
You now have 15 minutes to send Splunk data. Copy the URL in the text box:
Then, add a Heroku syslog drain:
heroku drains:add logs4.splunkstorm.com:YOURSPLUNKPORT
Perform a few activities on your app to send data to the drain. Then, click “Explore data”:

Perform a search, maybe using wildcards:
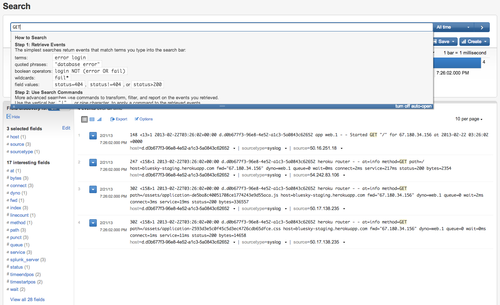
Filter by dragging a timespan:
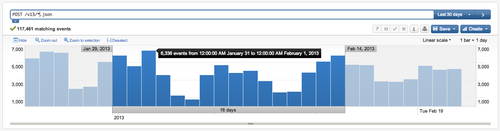
Watch how quickly the data loads.
On Rails apps, the default production log level includes enough data to be
useful in Splunk. Change it to DEBUG only when debugging:
heroku config:add LOG_LEVEL=DEBUG
At the DEBUG level, Rails will print SQL queries to the logs, which can be useful but may also
contain sensitive data as config.filter_parameters
does not apply to SQL queries.