Lighting in Unity can be tricky, especially if you’re worried about performance. This guide will cover a few introductory tips that will give you greater control over lighting in your 3D projects while making it run smoothly.
Some familiarity with Unity is helpful for this tutorial, but it’s not strictly necessary. If you don’t already have Unity, you can download it here.
A Room of One’s Own
To start, open up Unity and create a new project.

Before we start placing any lights, we need objects for the light to bounce off of. If we placed lights in an empty scene, it wouldn’t look very interesting!
Let’s make a simple room. Go to GameObject >
3D Object > Cube, and adjust it to make it look like a wall.
The easiest way to do this is to click on the cube you just made
then hit T on your keyboard. This will bring up handles around
the cube to resize it quickly. Adjust it until it looks like a wall.

Add three more walls to create a squarish room.
To create a roof, make another cube and place it above the walls. Don’t completely cover the room though: leave a gap so you can still see into the room, and to create an interesting light effect.
I also added a plane as a floor: GameObject > 3D Object > Plane.
Position it so it’s below the walls.
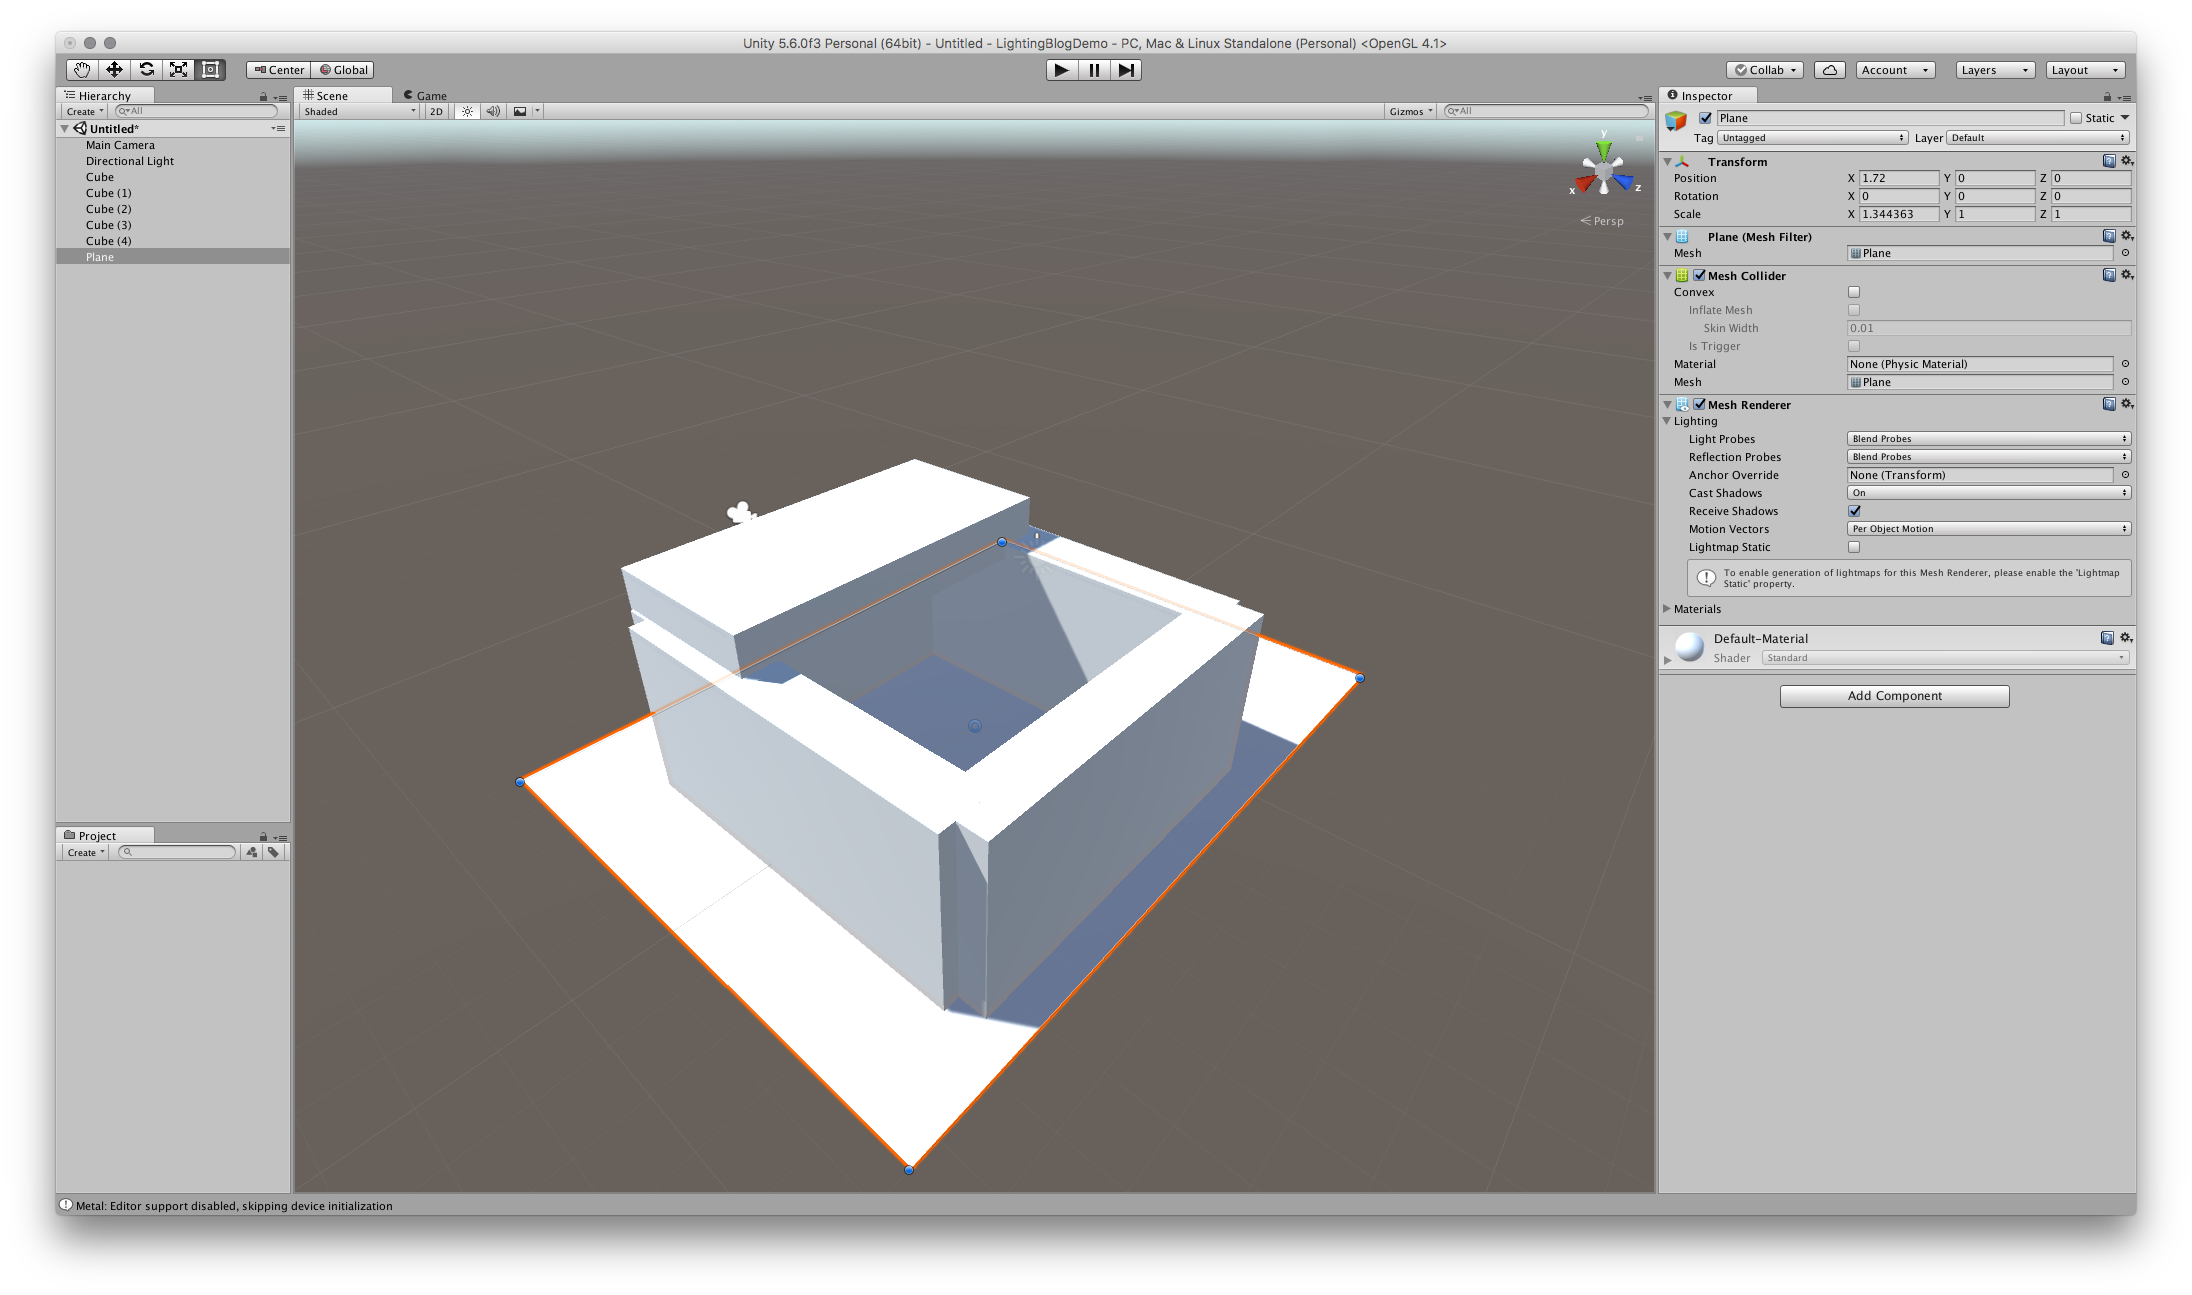
Alright, last thing to do for the room: making a window!
The quickest way to make a “window” in Unity is actually to create four overlapping cubes that are placed to look like a wall with a hole in it. So remove one of your walls that you made, and create a wall of four cubes in its place.

Once you have something that more or less looks like the screenshot above, we can start adjusting the lighting.
Let There be Light
The quickest, one-step trick to making your lighting look better immediately is to mark static objects as static.
You might be wondering, “what’s a static object?” A static object is literally that: an object that won’t move. These are objects like walls, furniture, and anything else that’s part of the environment and won’t be animated. Objects that move are called dynamic objects, but we won’t be using those in this tutorial.
If you click on an object then look at its inspector window, you’ll
notice a tiny checkbox in the top right corner: Static. Check
this for every object we’ve created so far.

Save and wait for Unity to finish rendering. By marking objects as static, Unity can essentially “pre-bake” lighting because it knows that these objects won’t ever move so it can generate more complex shadows and lighting effects. This also lowers the performance cost of lighting: Unity can set it and forget it, rather than continuously having to readjust the lighting effects.
You’ll notice the walls have a greater gradient of color now.
These are lit up by the directional light, which comes with new
scenes automatically. Click on the light object in your scene (it
has a sun icon) and hit E on your keyboard. This brings up handles
to rotate the light: try rotating it in any direction and notice the different
effects this has on the light inside the room. You can change the color
of the directional light as well. Experiment and see what happens!

5,000 Candles in the Wind
Directional light is good for mimicking sunlight or moonlight… but what about lamps? the glow of a computer? candles? stage lights?
Let’s look at all the other kinds of light you can make!
Glowing materials
One of the easiest and, in my opinion, coolest lights you can make is not a light at all but a glowing material for an object.
Add a cube to your scene and mark it as static. Now create a new material.

Rename it to something descriptive, like “GlowMaterial”, and
drag it onto your cube. Look at the material’s inspector window
and find the Emission option. Change the color to something bright,
like white or hot pink or pale blue, and increase the emission
until it looks like it’s glowing. Because you’ve marked
the cube as static, Unity can pre-bake this glow and light
up other objects in the scene with it.


Point light
A point light can be thought of as the light from a lightbulb. It’s
a sphere of light that radiates to all sides evenly. Add one to your scene
by going to GameObject > Light > Point Light.
You can change how bright it is, the color, and how far it reaches out. Normally these are placed around an object (like a lamp or a candle), since it doesn’t make too much sense to have a floating ball of light. But of course, feel free to do that too!

Spotlight
Spotlights are exactly what it sounds like. These are good for stage lights,
streetlights, flashlights, and any other light that radiates out in a cone
instead of a sphere. You can find them under GameObject > Light > Spotlight.
Whereas point lights usually need to look like they’re coming from a particular object, spotlights can be used without a corresponding object because it’s less obvious where the light really begins. Instead, these are great for highlighting something, like a doorway or a path.

Area light
Area lights are like if a rectangle projected light in one direction.
This can be used for more realistic interior or street lighting,
and in the same ways point lights might be used. Add an area light
by going to GameObject > Light > Area Light.

For more information about lights in Unity, check out their documentation.
In the End
You’ve learned how to make lighting look better on static objects, and how to use the different kinds of light objects to achieve different lighting styles! There’s still a whole world of lighting tricks out there, from blooming to dynamic lighting, but these basic skills will help you quickly build simple scenes and achieve your artistic vision.
Share your creations with us on Twitter! We’d love to see what you make.